Photo Report Template

A photo report template is a ready-made document structure that allows you to quickly format photos without manual layout adjustments. Using templates simplifies report creation and ensures a consistent documentation format.

Photo Report Template

What Is a Photo Report Template

A photo report template is a pre-defined document structure that determines how photos, captions, and pages will be arranged in the final file. In the service, the photo report template is set through the layout configuration: the user selects a suitable arrangement of photos and descriptions, adjusts the page structure, and gets a predictable result when generating the document. This approach eliminates the need to manually assemble a photo report in Word, allowing you to use a ready-made formatting scheme tailored to your specific task.

Try the service

If you're not logged in and just want to test the steps from the guide:
If you want to create full-featured photo reports in the dashboard — top up your balance in your user profile.

How to Use a Photo Report Template

Working with a template involves:

  • choosing a document structure
  • adding photos to the ready-made layout
  • filling in comments
This speeds up report preparation and reduces the likelihood of errors.

How the Photo Report Template Works in the Service

In photo-reports.online, the photo report template is tied to the document layout. It is the layout that determines how photos, captions, titles, and pages will be arranged in the final DOCX file.

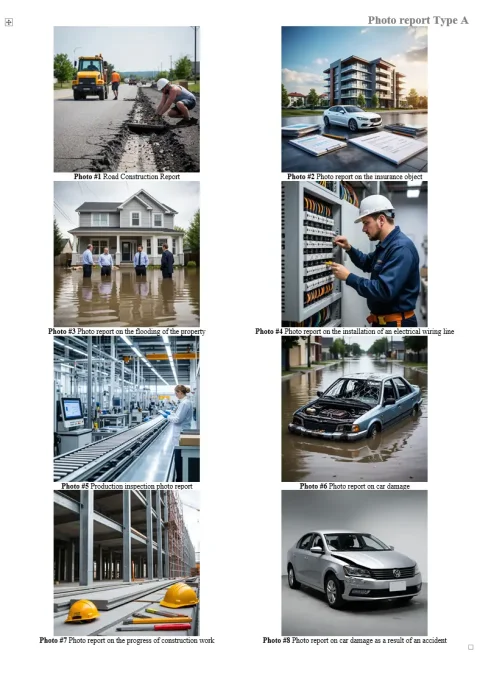
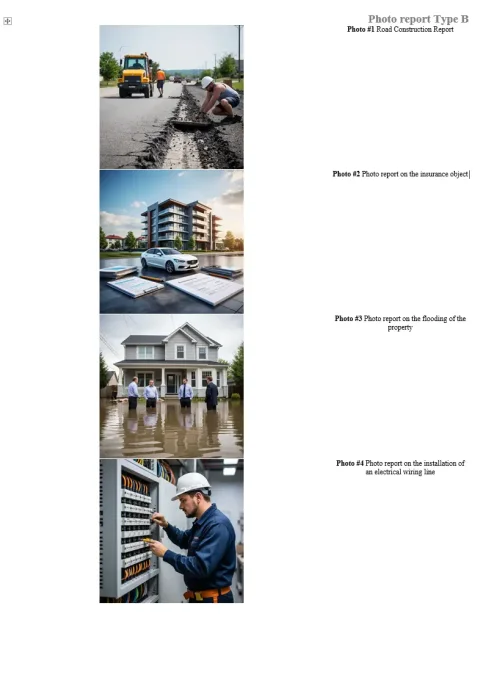
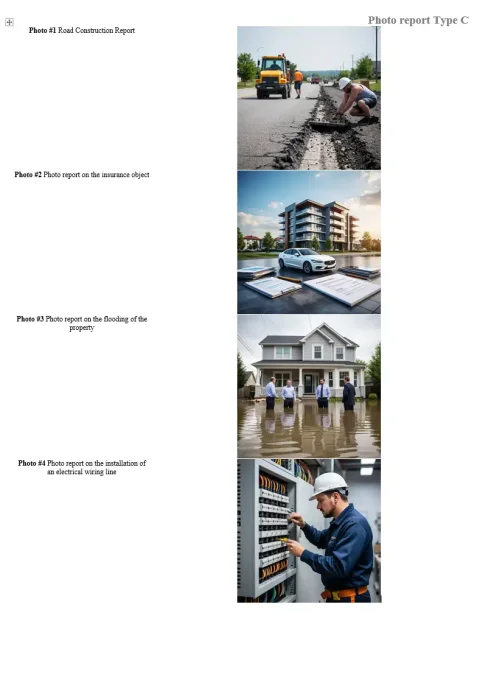
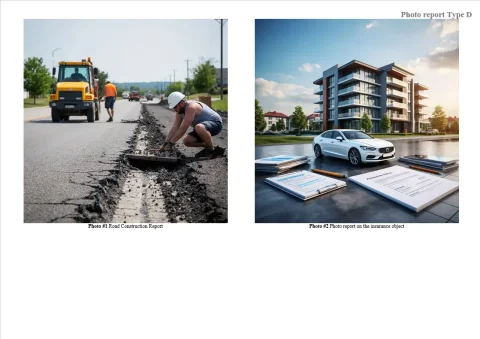
Global template for the entire photo report

Main layout settings apply to the entire document. This is convenient when you need to format the whole photo report in a single style: using the same photo arrangement, a uniform caption format, and a consistent page structure.

Individual template for specific pages

If needed, you can set custom parameters for a specific page. This approach allows you to use different formatting styles within a single document. For example, you could have a photo table on one page and large photos with detailed descriptions on another.

Choose a Photo Report Template for Your Task

The choice of a photo report template depends on the task you are solving. Below are the most common scenarios and suitable formatting options.

Universal photo report template

If your task doesn't require a complex structure, the basic table layout works well. Suitable for:
  • quick reports;
  • regular photo documentation;
  • standard tasks.

Photo Report Template Options

The service supports several standard layout types that can be used as a photo report template depending on your task.

Table photo report template

Image 1
This is the basic and most versatile option. Photos are arranged in a photo table, and cell sizes are calculated automatically based on the number of images, photo height, and caption height. This template is especially useful when you need to:
  • fit many photos on a page;
  • maintain a compact document structure;
  • quickly prepare a standard photo report;
  • format regular photo documentation without manual layout.

Photo left, description right

Image 1
This option is ideal when the comment is as important as the image itself. Photos are placed on the left, with textual descriptions opposite each shot. This template works well for:
  • inspections;
  • defect lists;
  • technical surveys;
  • reports requiring explanations for each photo.

Photo right, description left

Image 1
This template works on the same principle but with the blocks reversed. The viewer sees the text first, followed by the photo. This format can be useful when the emphasis is on the description, observation, or inspection result.

Photo top, description bottom

Image 1
Photos are placed at the top of the page, with captions and explanations below. This option is well-suited for documents where the visual content is the main focus, and text serves as a supporting explanation.

Photo bottom, description top

Image 1
In this version, the description comes before the photos. This template is suitable when you need to first establish the context, work stage, observation, or conclusion, and then show the visual evidence.

How to Choose the Right Photo Report Template

Choosing a template depends on the purpose of the document and how the information should be perceived.

If you need to place many photos

The table layout is the best choice. It is suitable for photo reports where compactness, a consistent structure, and displaying many images across several pages are important.

If each photo needs a detailed comment

Layouts with separate photo and description areas are better suited:
  • photo left, description right;
  • photo right, description left.
This format makes the document more readable when each image requires an explanation, observation, or status.

If visual emphasis is important

In this case, layouts where photos occupy the top or bottom of the page are a good fit. They work well for showcasing work results, object conditions, or task stages.

What Template Parameters Can Be Adjusted

After selecting the appropriate photo report layout, the user can customize it to fit the specific task.

Adjusting the photo table structure

Depending on the chosen layout, you can set:
  • number of columns;
  • number of rows;
  • photo area size;
  • caption height.
These parameters determine how many photos will be placed on a page and how the final document structure will look.

Page settings

For individual pages, you can specify:
  • page title;
  • page orientation — portrait or landscape.
This allows you to adapt parts of the document to different volumes of photos and different formatting scenarios.

Fine-tuning the appearance

Additional parameters are also available for the layout:
  • font selection;
  • caption font size;
  • text alignment;
  • title position;
  • page margins;
  • inner padding;
  • borders;
  • page format;
  • photo numbering prefix.
Thanks to this, the photo report template becomes more than just a sample; it becomes a practical document format that can be adapted to the requirements of the project, company, or client.

How to Use a Photo Report Template in Practice

Working with a photo report template typically involves several steps.

1. Upload photos

First, add the images you want to include in the document to the report.

2. Choose a layout

After uploading the photos, select a suitable template option: a table format, photo with side description, or photo with description above or below.

3. Adjust the structure

Next, you can define rows, columns, the photo area, and caption parameters. This stage establishes the core logic of how materials are arranged in the document.

4. Configure individual pages

If you need different presentation formats within a single photo report, you can set custom layout parameters for specific pages.

5. Generate the final document

After configuring the template and filling in descriptions, generate the finished photo report with a predictable structure and consistent formatting.

How the Photo Report Template in the Service Differs from Manual Formatting

When preparing a photo report manually in Word, the user typically has to:

  • insert photos;
  • align images;
  • set up tables;
  • manage captions;
  • control page breaks;
  • fix formatting after each change.
In the service, the photo report template is set through layout settings, and the interface immediately shows the structure that corresponds to the final document. This simplifies report preparation and reduces manual work.

Key advantages

Using a photo report template in the service allows you to:
  • speed up document creation;
  • maintain a consistent formatting style;
  • reduce the number of errors;
  • simplify work with large numbers of photos;
  • prepare photo reports for clients, internal tasks, and archiving more quickly.

When to Use Different Templates in One Document

A single photo report doesn't always need just one page format. In practice, different parts of the document may serve different purposes. For example:

  • the first section might contain an overview photo table;
  • the second section could include detailed pages with explanations;
  • separate blocks may be dedicated to defects, work stages, or specific areas of the site;
  • some pages may work better in portrait orientation, while others are better in landscape.
Configuring individual pages allows you to adapt the photo report structure without manually rebuilding the document.

What to Consider When Choosing a Photo Report Template

To ensure your photo report is easy to read, consider several factors when choosing a template:

  • how many photos need to fit on a page;
  • whether long captions and explanations are needed;
  • if a consistent format is required for the entire document;
  • who will be reviewing the report (client, engineer, manager, or executor);
  • whether the focus should be on the visual content or the comments.
The better the layout matches the task, the easier the finished document will be to understand.

Result of Using a Photo Report Template

A photo report template allows you to:

  • quickly select a ready-made document structure;
  • format photos without manually assembling pages;
  • use standard layout options for different tasks;
  • combine different page types in one report;
  • obtain a predictable result when generating the final DOCX file.
Using templates is especially beneficial when photo reports are created regularly and must adhere to a consistent standard.

Functions Used

This guide uses the following functions:

Where It Is Used

This guide can be applied, for example, in the following fields:

Frequently Asked Questions about Photo Report Templates (FAQ)

A photo report template is a document structure that determines how photos, captions, and pages will be arranged. In the service, the template is set by selecting and configuring a layout, so the user can immediately see how the final document will look.
The template is the overall formatting style, while the layout is the tool that applies this style within the service. By choosing a layout (e.g., a photo table or photo with description), the user is essentially selecting a photo report template.
The choice depends on the task:
  • for many photos — table format;
  • for reports with comments — photo + description;
  • for visual reports — photo top or bottom;
If you have mixed tasks, you can use multiple templates within a single document.
Yes, you can set a separate layout for each page. This allows you to combine different formats: for example, a general overview in table form and detailed pages with descriptions.
No. If the structure repeats, you can set the layout for the entire photo report once. If needed, you can then adjust only specific pages.
In Word or Excel, you have to manually:
  • insert photos;
  • set up tables;
  • align images;
  • manage formatting.
In the service, the template is defined through a layout, and the document structure is generated automatically. This speeds up the work and reduces errors.
Yes, templates are widely used in construction for:
  • documenting work stages;
  • quality control;
  • preparing reports for clients;
  • maintaining photo documentation.
Yes, for inspections, layouts with detailed photo descriptions work well. This allows you to record observations, defects, and the condition of objects.
The process typically includes:
  • uploading photos;
  • choosing a layout;
  • adjusting the structure;
  • adding comments;
  • generating the final document.